Getting Started with Custom Modules
Creating a custom module

Nagendra
Last Update 5 年前
Click on the "Custom Modules"
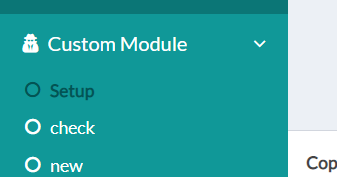
Creating a custom module: To create a custom module click on the "Setup"
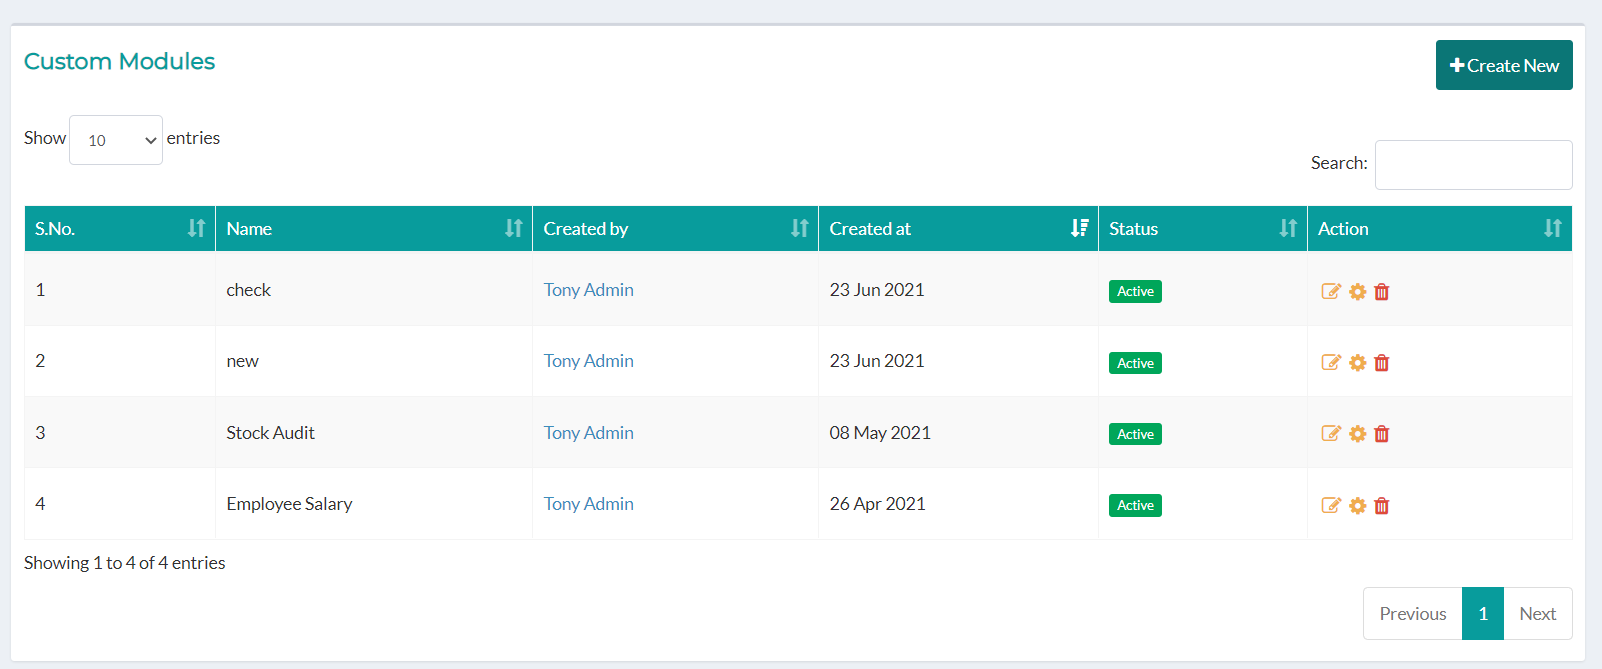
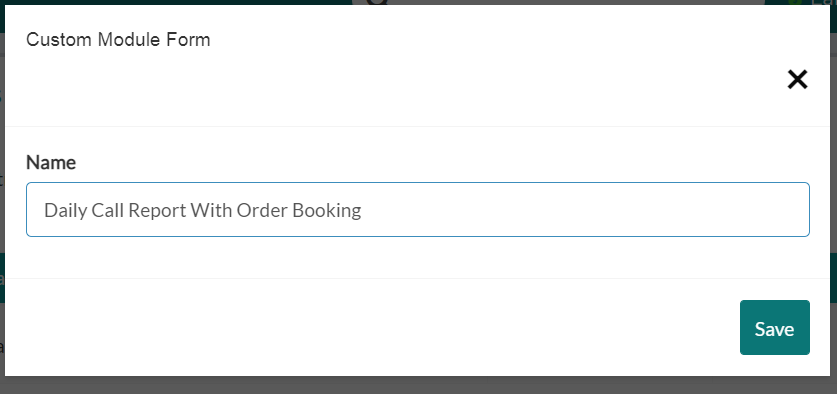
The custom module section will appear. Click on the "Create New" button on the top right and enter the name of the custom module that you want to create. Click on the Save button.
Enter the name for the custom module and click on the "Save".
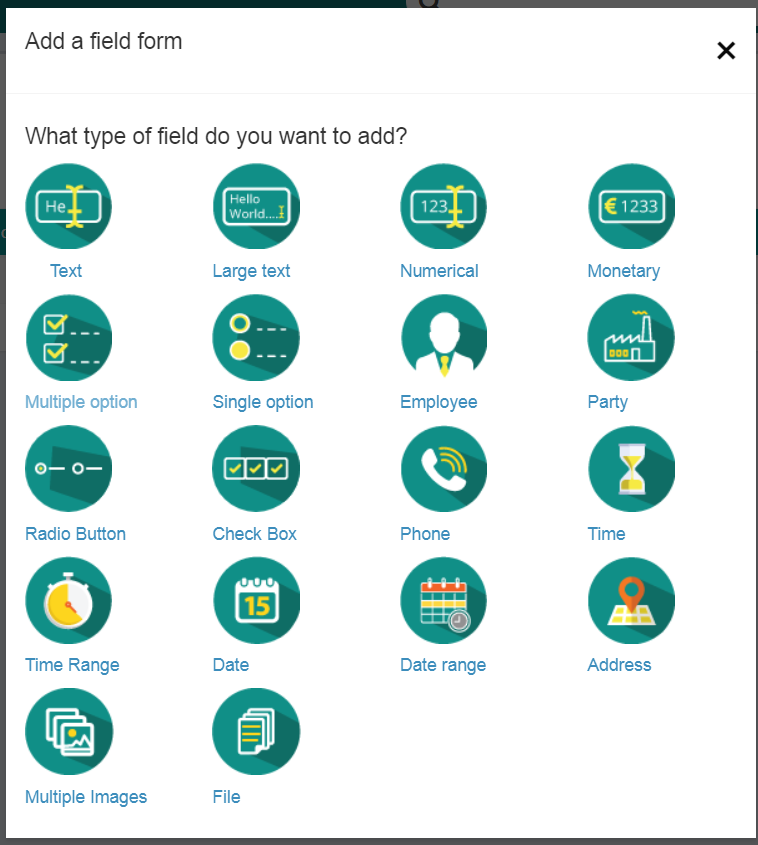
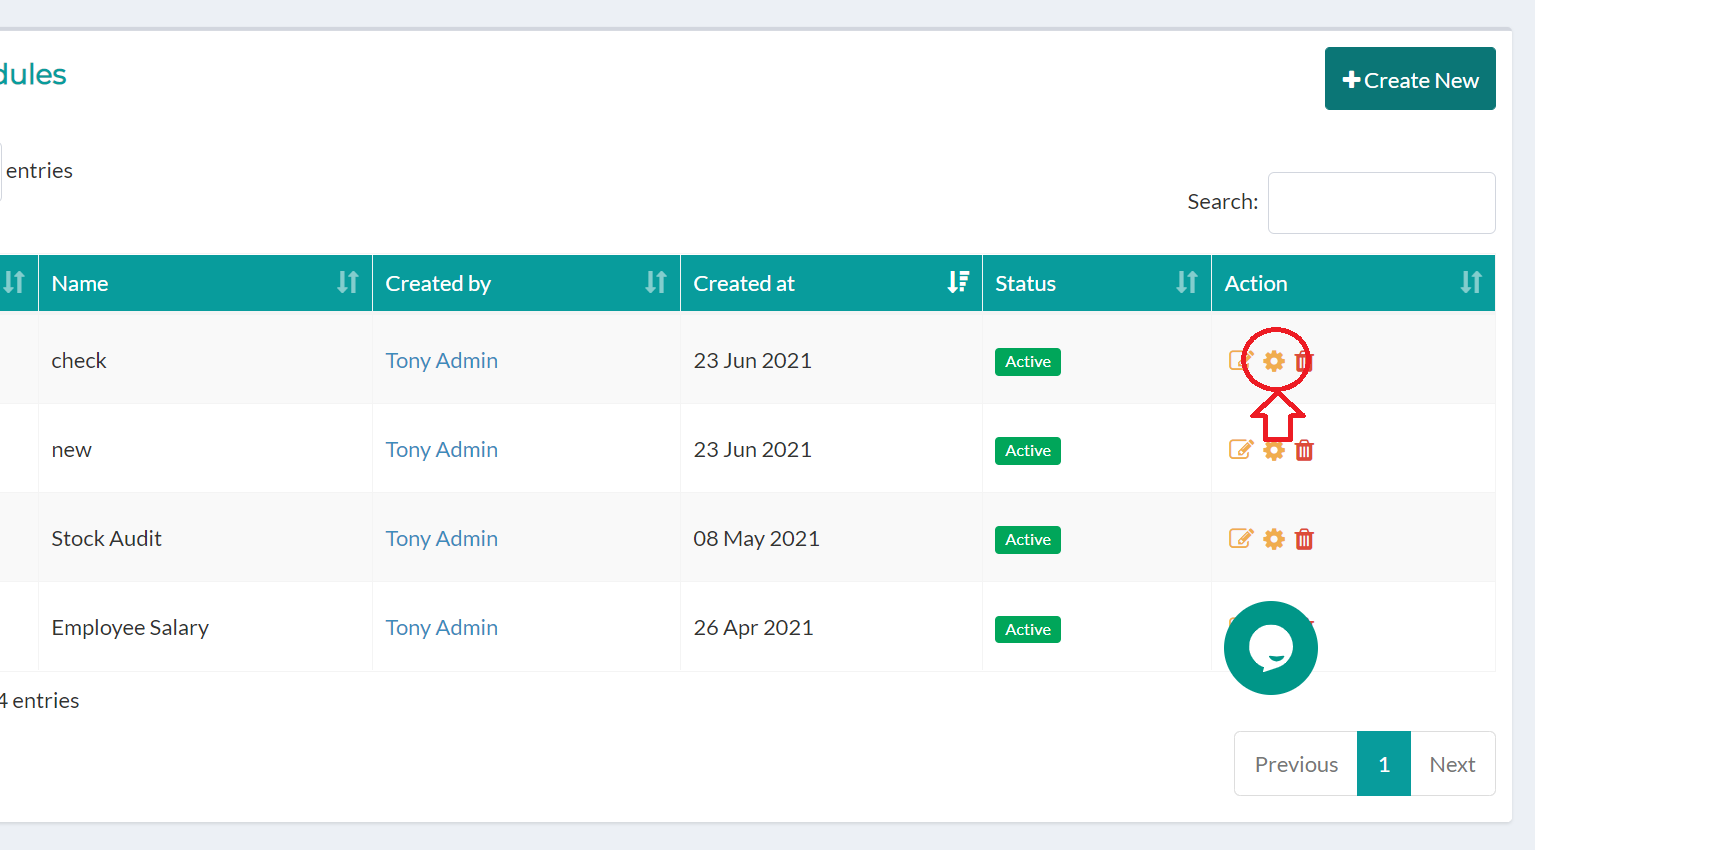
To add the input or selection fields to the modules, click on the
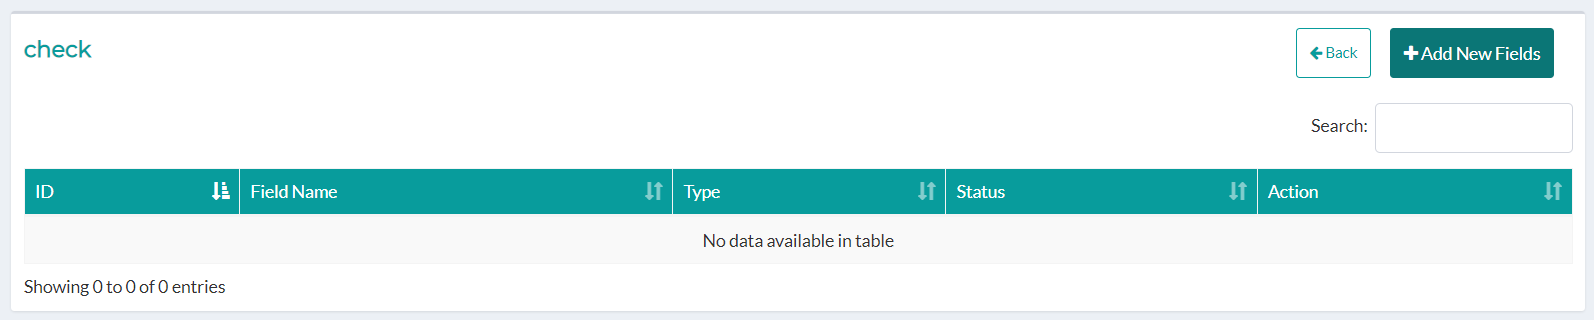
settings icon from the Action column among icon lists. Click on the "Add New Fields" button. Select the field to be added from the displayed grid.
The fields that can be added to the custom fields are:
Text fields: To add texts and characters, eg. Name, place
Large Text: To add texts and characters that span more than a line. Example: Notes and Remarks
Numerical: To add numbers. Example: Adding Voucher numbers, cheque numbers, age, etc
Monetary: To enter cash only.
Multiple Option: To select multiple options for any field from a given set of options.
Single Option: To select only one option from the given set of options.
Employee: To add employees
Party: To add a party or the retailer
Radio Button: To select the only one option from the list of options.
Check Box: To tick mark (Choose) multiple options from the set of options.
Phone: To enter the phone number
Time: To enter time.
Time Range: To enter or select the time range.
Date: To select the date.
Date Range: To select the Date Range.
Address: To enter the required address. The location from the map can be selected.
Multiple Images: To add multiple images.
File: To upload a file.